Template routing aids are great for cutting shapes on plexiglas. This tool is great for creating intricate designs on the router. This guide will discuss some of the top templates and their features. We'll also discuss Festool plungers as well as Flush-trim, pattern bits and other Festool products. Once you've got these handy tools, you'll be ready to get started.
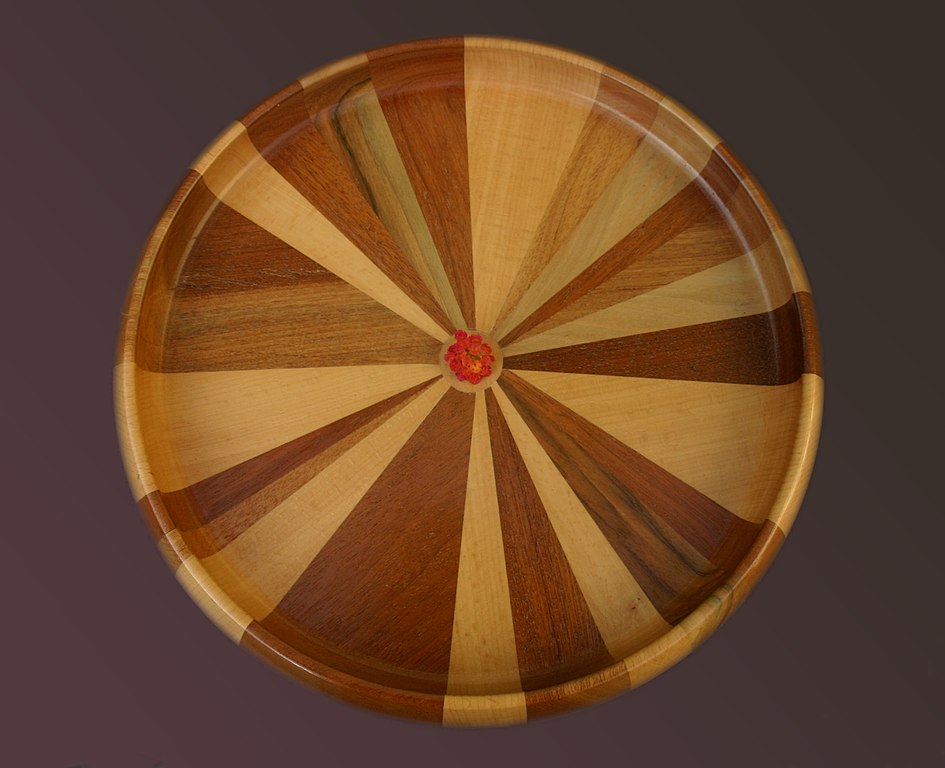
Festool Plexiglas Template Routing Aid
Plexiglas Template Route Aids are a good option for anyone considering purchasing a Festool product. These tools have measurement guides and dust extraction. These features may not be necessary for you. You may not use it enough to justify its price. You might consider a simpler solution in these cases.
The Festool Plexiglas Template Routting Aid is a versatile tool that can be used to cut slots, grooves, and mortises. It comes with two adjustable fencing for different material thicknesses. There is also an integrated rule to create grooves. The Festool Plexiglas Template Routing Aid makes it easy to create any kind of project.
Festool plunge routers
The plunge router is a popular choice among homeowners looking to make a template. They are lighter than other tools, easier to use and have a smaller footprint. They can be used for hardwoods like oak and maple. A plunge router's plunge depth, power, and plunge angle can vary, so be sure to purchase the right one for your needs. Read on to find out more about each type.
There are many accessories for a plunger that will help you create perfect shapes, circles, or other shapes. A dust collection system is required for plunge routers. This keeps debris from clogging the bit and affecting cutting quality. Plunge routers can also be used to make perfect circles, especially if they're attached to a template jig. These jigs are great for many purposes, including painting or sanding.
Flush-trim bits
A flush-trim tool is best if you need to cut veneers or laminas flush with your workpiece's edge. These bits feature a bearing at the base of the shank that rides along the workpiece. The bit's sheering action makes the material fall flat and leaves a clean cut. Imagine a paper shear. The base material acts just like a table. The down-cut bit is long and curved.
The essential tool for any woodworking shop is the flush-trim bit. These bits are used to cut veneers, laminates and shelf edging. They're also useful for jointing edges that are straight and smooth. These router bits are the most commonly used ones in the shop. But if you intend to make more than a few pieces at one time, you might consider buying multiple bits in different sizes. Flush-trim bits of 1/2" diameter make a great combo.
Pattern bits
A template routing tool that uses pattern bits to make repeatable patterns is called template routing. These bits have a ball bearing located in the center. They allow the template's to be held over a workpiece and can be used together with the router bit. They're an excellent choice for many applications. These are just some of the advantages of pattern bits. They improve your visibility and allow you to have better control over the project. These bits can also be used with handheld routers.
Combination bits have bearings at both the shank and the tip, and thus eliminate the need for changing bits for different templates. You can choose from straight or compression cutters. The compression bits are available in straight or pattern versions. These router bits leave a smoother surface than spiral bits, but are expensive. For best results, you should use a combination bit with a bearing-guided template.
Cuts in climbing

You may have heard the term "climb cuts" when you are trying to make a wood template. These are circular-shaped cutting techniques that produce precise and clean cutouts along end grain. They can cause the wood to be chipped or tearout. Learn how to make climb cuts in your template routing process. Climb cuts are best used to create intricate patterns.
A climb cut is the reverse of a normal feed. The bit rotates opposite to the feed. Instead of resisting material, the cutter tries accelerate it in same direction as wood. If the cut is made incorrectly, the cutter will grab the work and pull it away with immense force and speed. Climb cuts can be used to minimize tearout, as the bit enters or exits the cut face.
Allowance for offset between template and router bit
The offset refers to the distance between the cutting edge a router bit and the guide. The offset is calculated by adding the bit diameter to the guide bushing's diameter and then multiplying by two. This table illustrates the typical offset values used for most commonly-used router-bit and guide bit combinations. Keep in mind that some offset values are too large, while others may be too small. In the example below, the offset is 1/4.
The offset between router bits and template routing usually is about 1/8” or 0.35". The offset is important because if the bit is not perfectly centered, it will not fit into the bushing. It is common for a template to be misaligned or lopsided, making routing difficult. This can be corrected by simply adjusting the offset. For example, if your goal is to rout an mortise, adjust the offset from the template to match the profile.
FAQ
Where can I purchase woodworking supplies
There are many places where you will find everything that you need. You could shop at your local hardware store or go online to Amazon.com.
You might also consider flea markets and garage sale for any old furniture or other materials you could reuse.
What are the basics of woodworking?
A great way to start learning how to build furniture is by building a simple bench for yourself. This project can easily be done using whatever wood you have at your house. You don't need to know which type of wood you should use. Instead, get some pine boards at Lowes or Home Depot. After you've constructed your bench you'll want sand all the rough edges off and varnish it.
How often should I purchase new supplies?
You'll probably have to replace some of your tools over time. Sharpening hand tools is a must. And if you're using power tools, you'll need replacement parts periodically. Avoid buying too many products at once. Spread your purchases out over several months.
What else should I know about woodworking in general?
It is easy to underestimate the amount work involved with furniture construction. Finding the right type of wood is the most difficult aspect of this process. It is difficult to choose between the various types of wood.
Another problem is the fact that not all wood has the same properties. Some woods will crack or warp with time. Others will split or crack. These things should be considered before you buy wood.
Can I refinish furniture that I make?
Yes! You don't have to hire a professional to refinish furniture. There are many ways you can do it yourself. Here are some suggestions:
Use sandpaper for removing stains and scratches. Next, wipe the surface clean with a damp cloth.
Clear polyurethane varnish should be applied. Before moving furniture, let dry completely.
Use acrylic paint to paint furniture.
Instead of using paint, stain is a better choice. The furniture will get a rich look with the stain.
Use shellac wax. You can protect your wood with wax and give it shine.
What kinds of woods are good for making furniture?
Woods are classified by their hardness. Softwoods include pine, fir, cedar, and cypress. Because they are resistant, they can be used for outdoor furniture. The hardwoods are oak, maple and mahogany. Because they are not weather-resistant, they are best used indoors.
Statistics
- The U.S. Bureau of Labor Statistics (BLS) estimates that the number of jobs for woodworkers will decline by 4% between 2019 and 2029. (indeed.com)
- In 2014, there were just over 237,000 jobs for all woodworkers, with other wood product manufacturing employing 23 percent; wood kitchen cabinets and countertop manufacturing employing 21 percent. (theartcareerproject.com)
- The best-paid 10 percent make $76,000, while the lowest-paid 10 percent make $34,000. (zippia.com)
- Most woodworkers agree that lumber moisture needs to be under 10% for building furniture. (woodandshop.com)
External Links
How To
How to join wood with no nails
Woodworking is a popular hobby. It is relaxing and enjoyable because you can create something useful with wood. Sometimes you may want to join two pieces together of wood without using nails. This article will explain how to do this so that your woodwork projects stay beautiful.
Before you can join the wood pieces together, you need to remove any rough edges. Sharp corners can cause problems down the line. Once you have done that, you can begin gluing your boards together.
When working with hardwood, glue should be applied only to one side. Use glue on both the sides for softwoods, such as cedar or pine. Once the glue has dried, press the boards together until they are fully adhered. Before moving onto the next step, make sure the glue has dried completely.
Once you've glued your boards together you will need to drill holes in the joints to accommodate screws. Depending on what type screw you choose, the size of these holes will depend on how big they are. If you are going to use a half-inch wood screw, you will need to drill at least 3/4 inch deep.
Once you have drilled the holes, the next step is to drive your screws through the joint into the board's backside. Do not hit the boards' front surfaces. It will ruin the finish. Avoid hitting the screws' ends too often when driving screws. This will prevent the wood from splitting.
Protect your finished project now. You can seal the furniture pieces or cover the top. You will want to choose a product that will be durable for many years. Oil-based varnishes are, among others, polyurethanes shellac, laquer, and other oil-based products.
These products can generally be found in any home improvement shop. You should make sure you are getting the right type for the job. Some finishes are toxic and should not ever be used indoors. When handling certain finishes, wear protective gear.