There are many wood turning videos. But which are the most worth your time? Here are my top four favorites: Rex Burningham (Kip Christensen), Ernie Conover (Ernie Conover), and John Jordan. These instructors are all experts and share their knowledge. These videos should inspire you to be a better woodturner. These videos are well-worth your time and money. Don't forget to share what you like on Facebook!
Rex Burningham
Rex Burningham wood-turning videos are a great resource for learning the basics of woodturning. With over fifty years of experience, these two renowned turners have created dozens of different, tuned projects. These DVDs provide everything you need, from turning ornament display stands to shaping a spoon to making intricate lidded containers. You'll be glad you have these videos in your library! You can read on to learn about the amazing videos these instructors offer.
Kip Christensen
Kip Christensen has videos that will help you learn wood turning if your are a beginner. They will show you how to create functional and beautiful furniture and gifts. These videos are great for learning more about woodturning. Many videos feature tutorials from some of the most skilled woodturners.
This book features 16 unique woodturning project ideas, from bowls and boxes to unusual sculptures. Each project comes with clear, concise instructions, step by step photography, and a few useful tools. The author shows you how to create each project step by step and how to use his creativity to create beautiful pieces. He shares his knowledge and experiences in a way that will encourage you to learn woodturning.
Ernie Conover
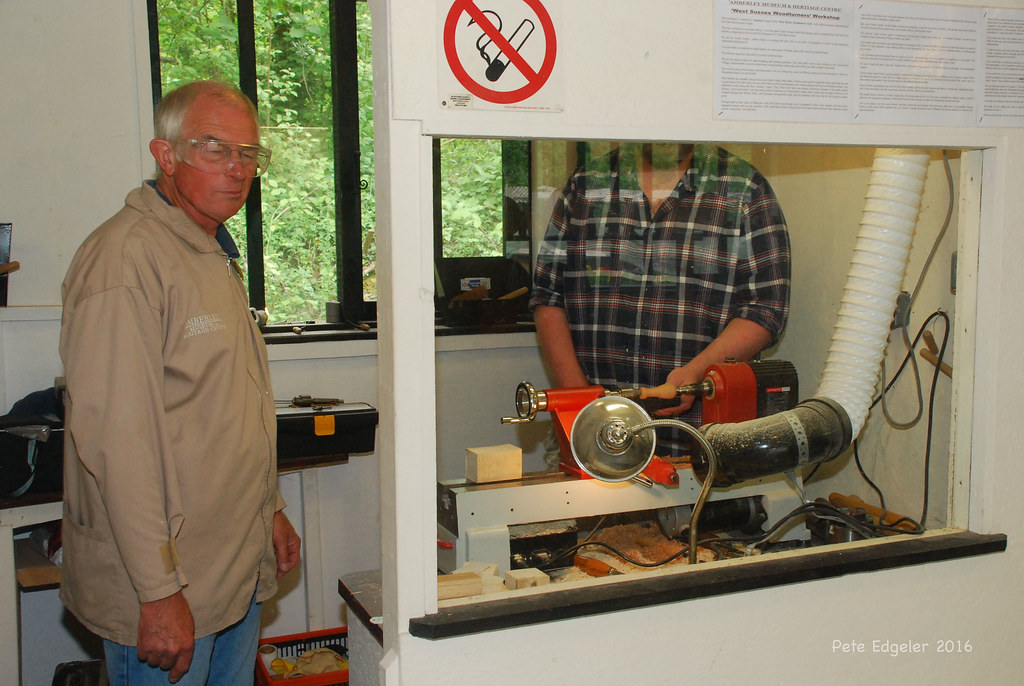
If you're looking for an introduction to wood turning, consider watching one of Ernie Conover's videos. More than 55 minutes of instructional videos will provide you with all the information you need to get going. Discover the tools and techniques used in wood turning. Turning Furniture will help you get an overview of the process and expand on your project options. This 55-minute lesson shows you Ernie Conover's workshop.
Ernie Conover has videos that cover more than just turning. These videos show how to sharpen and turn tools as well as how to turn a lathe. His videos can show you how to make an exotic oyster box, color a platter or make an end grain vase. The books, Woodturning - A Foundation Course, and Turning Wood with Ernie Conover are complementary to one another, providing detailed information on how to get started with woodturning.
John Jordan
If you're considering buying a John Jordan wood turning video, you've come to the right place. The internationally recognized woodturning master has taught throughout eight countries as well the US. His works are held in major museums and corporations. You can find all the details about his technique through this series of videos. To get started with your wood turning journey, you can buy this video or any John Jordan wood turning video. He also offers videos on a variety of topics in addition to his books.
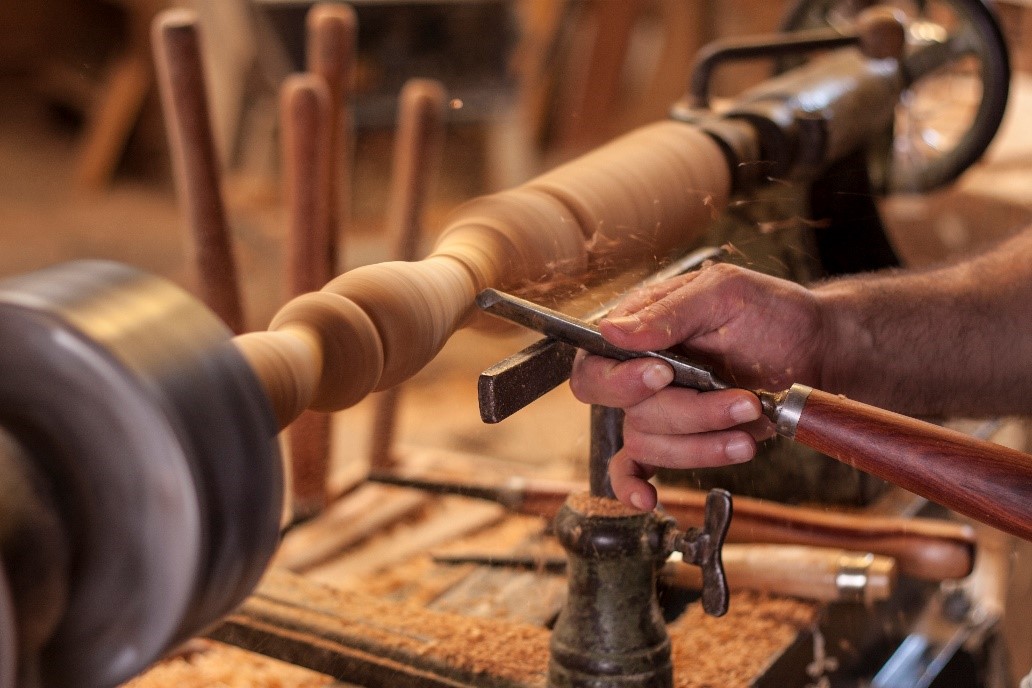
The DVD opens with a discussion of the most important safety precautions to be aware when working with wood. It then moves on to discuss the various tools available. It shows how you can turn the perfect basic cylinder as well as how cut beads and fillets. John also shows how to turn a variety different tools. Once you are comfortable with the various tools, then you can begin to learn the art of turning. It is possible to create a stunning woodworking object.
FAQ
Is it possible to open my own woodworking shop?
It is difficult to start your own woodworking company. There are many regulations and legal requirements that you will need to comply with. It doesn't mean that you have to go through the entire process of starting a business. Many people opt to join existing businesses instead. This allows you to join existing businesses and pay only membership fees.
What is the difference between a hobbyist or a professional woodworker, and how can you tell?
Hobbyists like making things with wood. Professionals focus more on quality. Hobbyists usually take pride in their creations and often share them with friends and family. Professionals will spend hours researching designs and then begin to create a project. They will pay attention to every detail, from selecting the best materials to finishing the project perfectly.
Do you have any other information I should know about woodworking and/or the process of making it?
It is easy to underestimate how much work it takes to make furniture. Finding the right kind of wood is the most difficult part. There are so many options for wood, it can be difficult choosing the right one.
The problem with wood is that not all wood properties are the same. Some woods will warp over time, others will split or crack. Before purchasing wood, you should consider these factors.
Statistics
- Overall employment of woodworkers is projected to grow 8 percent from 2020 to 2030, about as fast as the average for all occupations. (bls.gov)
- Most woodworkers agree that lumber moisture needs to be under 10% for building furniture. (woodandshop.com)
- The best-paid 10 percent make $76,000, while the lowest-paid 10 percent make $34,000. (zippia.com)
- Average lumber prices rose about 600 percent between April 2020 and May 2021. (familyhandyman.com)
External Links
How To
How to join wood with no nails
Woodworking is a favorite hobby. Woodworking can be a fun hobby because you can work with your hands to make useful objects from wood. You may need to join two pieces without the use of nails. This article will help you to maintain the beauty of your woodwork projects.
Before you can join the wood pieces together, you need to remove any rough edges. Sharp corners can cause problems down the line. After you have completed this step, you are ready to glue your boards together.
If you're working with hardwood, you should only apply glue to one side. If you're using softwoods like pine or cedar, you should put glue on both sides. Once you have applied the glue, press down on the boards until they are fully attached. After applying the glue, let dry the boards before proceeding to the next stage.
After you glue your boards together, drill holes at the joints where screws will be inserted. You can choose the type of screw to determine the size of your holes. For example, if your screw is a 1/2-inch wooden screw, drill a hole that is at minimum 3/4 inches deep.
Once you've drilled your holes, you'll want to drive the screws through the joint and into the backside of the board. Be careful not to hit the front surface of the board, or else you'll ruin the finish. Avoid hitting the screws' ends too often when driving screws. This will avoid splitting in the wood's ends grain.
Now that your project is finished, you'll want to protect it from the elements. You can either seal the entire piece of furniture or cover the top. You will want to choose a product that will be durable for many years. Oil-based varnishes are, among others, polyurethanes shellac, laquer, and other oil-based products.
You can find these products at most home improvement stores. You should make sure you are getting the right type for the job. Keep in mind that certain finishes can be toxic and should not be used indoors. Always wear protective gear when handling any of these finishes.