This book provides a comprehensive overview of the fundamentals of wood turnings, and also includes examples from some top turners around the globe. Keeling also discusses the changing technology used to make segmented wood turnings, as well as health and safety concerns when working with wood. The book includes 10 projects, which progress in difficulty, as well as a gallery of inspirational segmented designs. While the book is designed to provide basic information about segmented turnings for beginners, it does not intend to be an exhaustive guide for those who are looking to create the most stunning turniments.
Techniques
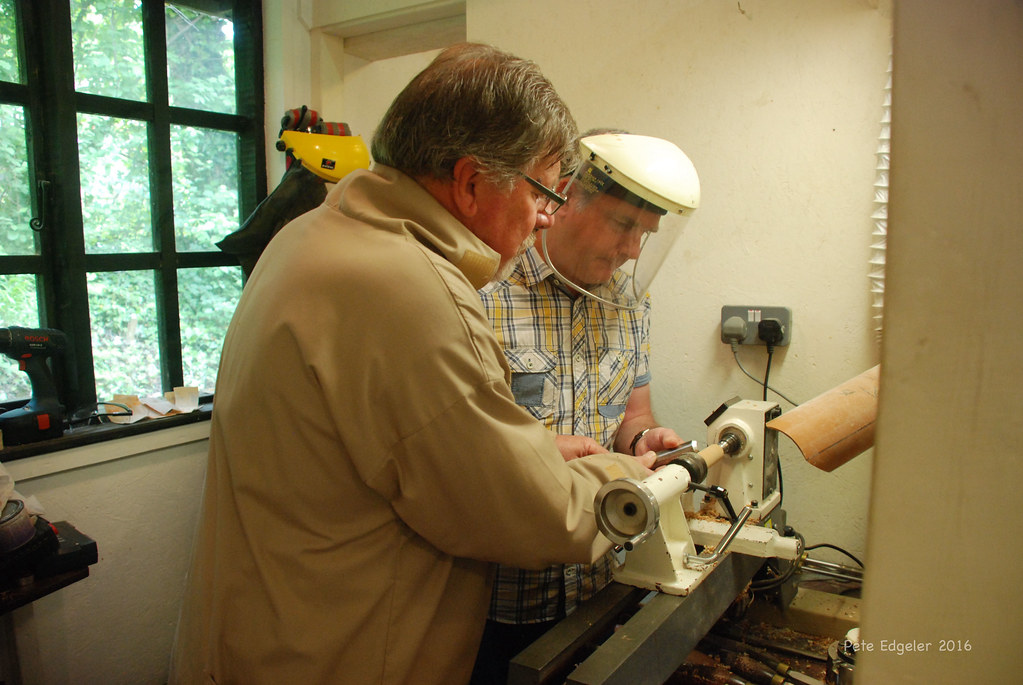
William Smith gives step-by–step instructions for how to turn segmented objects in Techniques for Splitted Wood Turnings. This woodworking method is very effective at creating intricate vessels. This technique is especially suitable for beginners. Basic knowledge in woodworking is required before you can start. Ideally, you should have some experience in the area of turning. After mastering the basics, you can move on to more advanced techniques.
Materials
Segmented wood turnings can be made in many ways. These include using ring construction, stave construction, or solid non-segmented wood. Wood expands in a direction parallel to the grain. Therefore, the turner must take into account non-parallel directions of grain and take precautions to protect the piece. This book will teach you the basics and introduce you to the many different styles and types of wood turning.
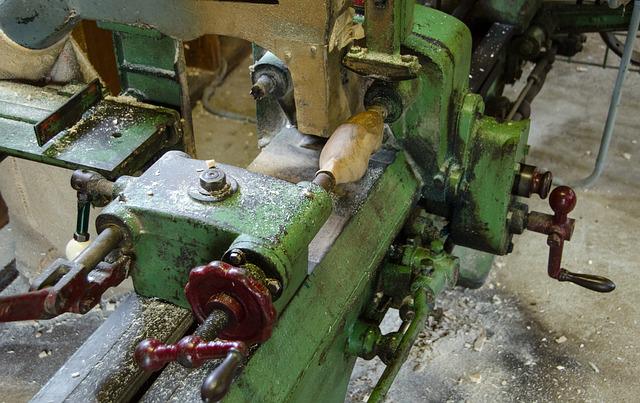
Feature Rings
Feature Rings are a special feature on many segmented bowls. The zigzag components turn on each side creating a lightning-like pattern in the ring. The finished turning can be sanded to 600grit then filled with clear laquer. These ring shapes make great gifts or home decor. This DVD is 120 minutes long and shows you how to make segments bowls.
Construction of rings
There are several ways to construct rings for segmented wood turnings, including using a combination of stave construction and ring construction. This technique can also work with non-segmented solid wood. Wood expands perpendicularly to its moisture content and grain. Non-parallel grain direction can affect the shape of the ring, and the turner must consider this when designing the segmented turn.
Stave construction
There are two basic styles of segmented wood turning: ring and stave. Stave is used for certain projects more often than the ring. Although both styles have their advantages, ring construction may be easier to master and more appealing for beginners. This article will show you the differences in ring and stave construction and how to apply them on your next segmented projects.
Solid wood
Precision of miter angles are crucial when turning solid wood segments. Segments can vary in width depending on the size of the ring. When gluing segments together, you must use PVA wood glue with end grain against the grain. A pair of segments may be glued together simultaneously. You can attach them by using clamping rings and hose clamps. For eight segments, it is recommended to use a miter angle in the range of 22.5 degrees.
Base floating
You should avoid using a flat, or sloping, base for segmented woodturns. A floating base can prevent base failure by minimizing stress on the piece. Floating bases are made from half-mortise joints where a solid dispersion fits in the space. Wood can move freely. Floating base are very stable, especially when you use quarter-sawn lumber. A floating base should be no larger than 6 inches in size.
FAQ
Are you a genius in order to master woodworking?
No. No. Woodworking isn't rocket science. Anyone can learn how to use basic power tools and techniques to create beautiful works of art.
What is the difference in plywood and particleboard?
Plywood can be described as a mixture of layers and wood that have been pressed together with pressure. Plywood comes in several thicknesses and is commonly used for cabinets and flooring. Particle board consists of sawdust mixed and resin. The resin is then compressed into large blocks. It's often used for home renovation projects. Both types are sturdy and easy to cut.
What kind of wood should I use?
The most popular types of wood used in woodworking include oak, pine, birch, maple, cherry, mahogany, teak, poplar, redwood, and bamboo. Each type of wood has unique characteristics that affect the look and feel of the final product. Oak tends to be harder and darker than other woods. Birch is soft and light, and mahogany is denseer and heavier. You can also choose between solid wood and veneers. Veneers can be described as thin sheets of wood that have been glued together in one layer.
How do I calculate woodworking prices
It is essential to calculate costs as accurately as possible when pricing any project. Make sure you're getting the best prices on materials. It is also important to consider the costs of other factors, such time, skill, and experience. To get an idea about the average cost for common household DIY tasks, see our guide to the average woodwork project price.
Statistics
- The U.S. Bureau of Labor Statistics (BLS) estimates that the number of jobs for woodworkers will decline by 4% between 2019 and 2029. (indeed.com)
- Overall employment of woodworkers is projected to grow 8 percent from 2020 to 2030, about as fast as the average for all occupations. (bls.gov)
- The best-paid 10 percent make $76,000, while the lowest-paid 10 percent make $34,000. (zippia.com)
- If your lumber isn't as dry as you would like when you purchase it (over 22% in Glen Huey's opinion…probably over 10-15% in my opinion), then it's a good idea to let it acclimate to your workshop for a couple of weeks. (woodandshop.com)
External Links
How To
How to join wood without using nails
Woodworking is a popular hobby. It's fun and relaxing because you can use your hands to make something useful from wood. However, there are times when you want to join two pieces of wood together without having to use nails. This article will help you to maintain the beauty of your woodwork projects.
First, remove any sharp edges from the wood pieces before you join them. You don't want any sharp corners to cause problems later. Once you've done this, you're ready to start gluing your boards together.
When working with hardwood, glue should be applied only to one side. If you're using softwoods like pine or cedar, you should put glue on both sides. Apply the glue to the boards and press them down until they are securely attached. Be sure to let the glue dry before you move on to the next step.
After you have glued your boards, drill holes where you want to insert screws. The size of these holes depends on what type of screw you choose to use. For example, if your screw is a 1/2-inch wooden screw, drill a hole that is at minimum 3/4 inches deep.
Once you've drilled your holes, you'll want to drive the screws through the joint and into the backside of the board. You should be careful not to touch the board's front surface. This could cause damage. When driving the screws, try to avoid hitting the ends of the screws too much. This will prevent the wood from splitting.
You'll need to protect your completed project from the elements. You have two options: seal the whole furniture piece or just the top. You want it to last years, so you can use any product. You can choose from oil-based varnishes or polyurethane, shellac and lacquer as examples.
These products can usually be found at any home improvement store. Make sure you get the right product for your job. Keep in mind that certain finishes can be toxic and should not be used indoors. Always wear protective gear when handling any of these finishes.