Select a piece of wood to begin carving a face out of wood. Make the necessary cuts. The expert will guide you through the process using a step-by, video tutorial. This will allow you to create a more realistic face by making the cuts in the wood. A lifelike face can be created by the progression of the noses on the wooden piece. To create a lifelike finish, you can use colored dyes or shellac.
Hardwoods
When carving a face in wood, you must first consider the type of wood to be used. Hardwoods can be described as a group of trees with large leaves that can thrive in many climate zones. Hardwoods can be used for building and furniture construction due to their versatility in strength, density, and appearance. Hardwoods can be more expensive, but they are also more durable and resistant to fire.
You might want to try wood carving if you are new to the art. These types of wood are easier to work with and are a good choice for beginners. However, you should remember that softer woods cannot hold the same quality and finish as hardwoods. You should experiment with different types before you settle on a single type.
Softwoods
When carving a face from wood, the first step is to choose the right softwood. Softwoods are harder to carve and can often be knotted. They are also more susceptible to breaking, particularly if you use large strokes. A beginner carver will frequently cut off small pieces of wood, reducing detail. While this isn't a major issue, it is something to be aware of.
Some hardwoods are more difficult to work with than others. Aspen, butternut and basswood are some of the most easy to work with. For this reason, it is best to use knives with a steeper bevel. Softwoods are easier than hardwoods to work with, and can be carved along the grain or across it. The quality and finish of your product will depend on what wood you use.
Colored Dyes
You can create a bright, detailed finish to a wood carving by using colored dyes. You can find these in a wide variety of colors and mix them with water or alcohol to create a unique colour. You can mix colored dyes with shellac to make lighter woods. Make sure you ventilate your area after applying the dyes. Paste wax is another option. A high degree of glossiness could distract from your work. To remove any excess glossiness, use 0000 steel wool.
Wood dyes come in many varieties and are easy to use. Wood dyes are compatible with all topcoats and are easy to apply. These dyes also solve common finishing problems. Because they come in a wide array of primary colors, they're easy to mix and apply. They are also available in many shades that can be mixed to suit individual preferences. They can even be blended to create unique colors.
Shellac
Shellac is a product that can be applied to wood carvings. Make sure you have it handy. Shellac can be purchased in a jar, but it's easier to apply with a brush. Two-pound cuts will suffice. Because it builds up slowly and reduces brush marks, a two-pound cut will do. Also, it's better to buy a thicker cut than a thinner one, because shellac is very water-thin. Make your own pad out of small pieces of cotton and lintfree cloth. This will ensure you get the right amount. Now dip your brush in the Shellac.
Use shellac to add color and highlight grain. Shellac comes in various colors, so you can create custom blends by mixing different shades of the resin. You can also darken the shade using extra coats. Shellac will not yellow or turn cloudy like other wood finishes. You can also make many faces with shellac because it will last longer. This can be done with any type or wood carving project.
Gouges

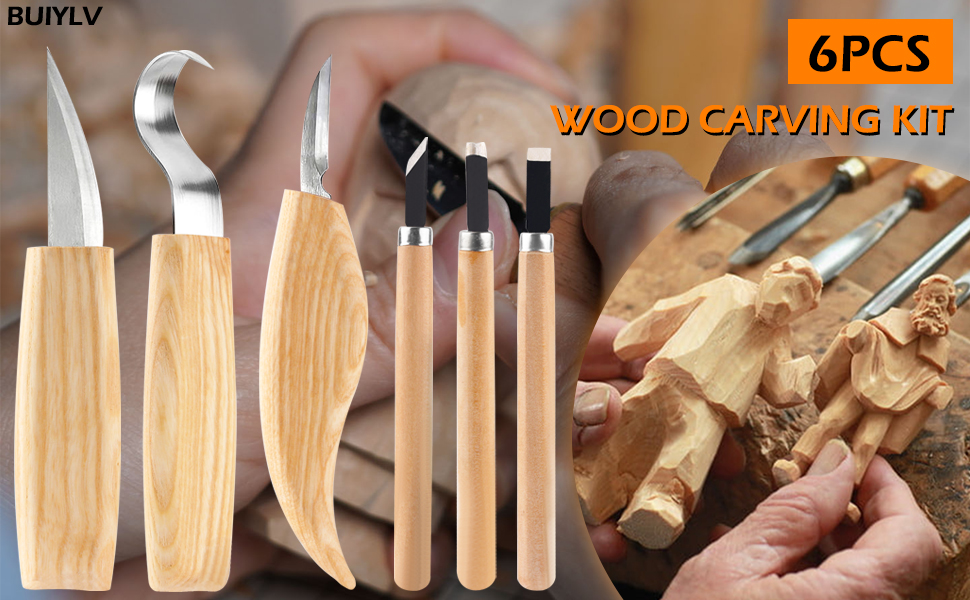
There are many types of gouges. The most common gouges are the palm and straight. Palm gouges can be held in one hand, while straight gouges require a larger handle and shaft. Handheld carving becomes easier thanks to the shorter handles. Palm gouges are also called veiners and are ideal for carving faces in wood. Here are a few things to consider before you start carving.
First, it is important to understand how to select the correct gouge. The gouge you choose should be able to carve a shallow v-shaped groove. You should ensure that you get a sharp edge with a small sweep. Gouges are commonly classified by size. A 3/10 size gouge can make the same cut as a 5-/10 size gouge. The scoop between the edges will get deeper and the sweep will become more curled as the first number goes up. A small sweep can carve a shallow profile in a gouge.
FAQ
How often do I need to buy new supplies
Over time, you may need to replace your tools. If you are using hand tools, you will need to sharpen them frequently. If you are using power tools, you will need to purchase replacement parts regularly. Avoid buying too many products at once. Spread your purchases out over several months.
How do I get started with woodworking?
Learning how to build furniture is the best method. You will need tools. There are bound to be mistakes. But if your persistence is consistent, you will soon master the craft.
Start by choosing a project you'd like to complete. You can make a simple box or a large entertainment center. Once you've decided on a project, find a local woodworker who specializes in that kind of work. Ask the local woodworker for help in deciding what tools and where to get them. Maybe you can ask the person if they know of anyone who does this sort of work.
How long does a piece take to finish?
It depends on the type of wood you choose, the complexity of the design, and the amount of finishing you apply. Hardwoods are more difficult to maintain than softwoods. Hardwoods tend to be more expensive that softwoods. However, they are stronger and more resistant to moisture. The typical time taken to finish a piece furniture takes anywhere from one to three month.
Where can I buy woodworking supplies?
There are plenty of places where you can find everything you need to start out. You can visit your local hardware stores, or you can look online at sites like Amazon.com.
You can also check garage sales and flea markets for old furniture and other materials you can reuse.
Are you looking for tips to start a woodworking company?
Starting a woodworking business is a lot of work. However, if you are passionate about your hobby you will be willing to put in the effort. You'll enjoy the challenge and rewards of owning your own business.
Remember that you may encounter unexpected problems when starting a new venture. Unexpectedly, money might run out. You might find customers not willing to pay the amount you expected. These situations are necessary for survival.
It is a good idea to create a separate bank account just for your company. This way, you'll always know exactly how much money you have coming in.
Statistics
- The U.S. Bureau of Labor Statistics (BLS) estimates that the number of jobs for woodworkers will decline by 4% between 2019 and 2029. (indeed.com)
- If your lumber isn't as dry as you would like when you purchase it (over 22% in Glen Huey's opinion…probably over 10-15% in my opinion), then it's a good idea to let it acclimate to your workshop for a couple of weeks. (woodandshop.com)
- Woodworkers on the lower end of that spectrum, the bottom 10% to be exact, make roughly $24,000 a year, while the top 10% makes $108,000. (zippia.com)
- Overall employment of woodworkers is projected to grow 8 percent from 2020 to 2030, about as fast as the average for all occupations. (bls.gov)
External Links
How To
How to drive a nail through wood
When driving a nail into wood, it is important to first choose the correct size and kind of hammer. The most popular types of hammers include claw hammers as well as mallets and ball peenhammers. Each type of tool has its advantages and drawbacks. For example, a claw hammer works best when you want to hit something hard, like nails; however, it's difficult to control precisely where the blow lands. Although a sledgehammer can be used to hit large areas quickly, it is too heavy to be useful for small tasks.
After selecting the right hammer, you will need to place your hand flat against one side of the head. The handle should rest comfortably in your hands. You can grip the handle with your fingers, but not so tight that it causes injury. Your wrist should be relaxed while you hold the hammer straight upwards. Swing the hammer back towards the ground, with your aim at the middle of the nail. You should feel the impact on the nail from the hammer. Practice swinging your hammer on a block of wooden until you feel comfortable.
Hold the hammer near your body until you're ready for the nail to be driven. Place the nail so that it is perpendicular with the wood's surface. Keep your eyes focused directly on the tip of the nail. Swing the hammer forward, then follow through with the motion of the hammerhead. This can be repeated several times to increase the speed of your swing. When you are confident with the technique, add power to your swings. You can hold the hammer over your shoulder and forcefully bring it down. This will help you put more energy behind each of your moves.
Once you have made the first hole, remove your hammer. To pull out the remaining nails, use a screwdriver or pry bar. To prevent splitting the wood, ensure you keep the nail heads flush against the board's surface.