
This guide will assist you in creating intarsia wooden art. This information includes information about Wood types, patterns and tools as well as techniques. Learn more about this fun craft. You may want to experiment with different types of wood depending on your level of skill. For those who are just starting out in this craft, it is a good idea to make a sample.
Patterns
Woodworkers who are skilled can make many intarsia projects including holiday, tree and flower ornaments. The intarsia wooden patterns included in this book can be used by all levels of woodworkers and show the artistry that the process requires. There are a total of 21 full-size intarsia patterns included, with helpful information on blades, wood, and shaping.
Intarsia allows you to create an original piece of furniture, or wall hangings by using different wood species. It's like building a puzzle, with different pieces of wood arranged next to each other. Each piece of wood is then stained or polished, and assembled to make a unique design. This gives the project depth and character. Making intarsia wood patterns can prove difficult so it is important to locate a source of free patterns.
Tools
You need to have special tools for intarsia. A small belt-sander is a great tool to quickly remove material from the surface and smoothen out edges. A dremel, or flex shaft, can be useful if you are looking for a tool to shape and sand fine details. There are many options for these tools, including different blades and tools that can be used to shape and sand small areas.

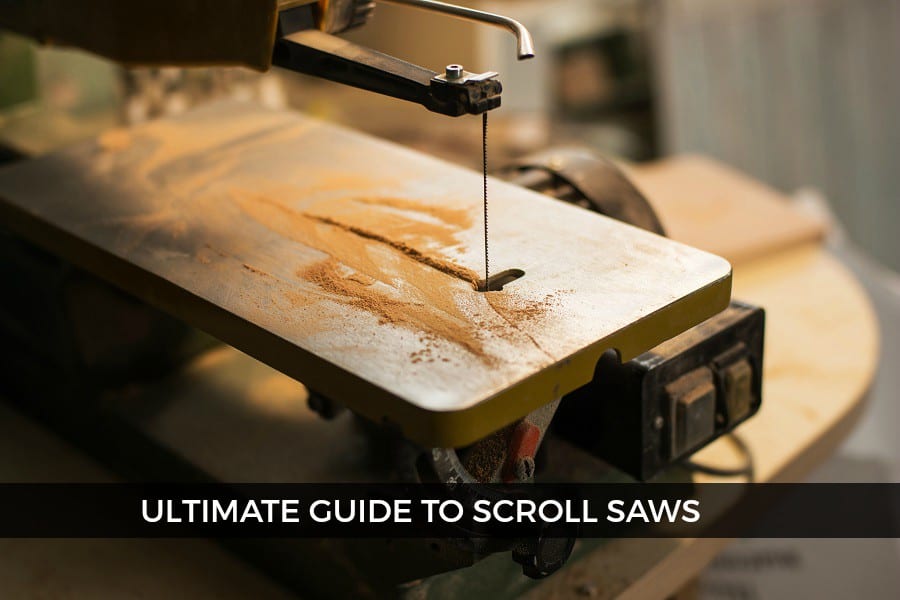
Jigsaws - Jigsaws have a limited range of capabilities. They are not capable of making the precise cuts that a scrollsaw can. Sanders are required to smoothen wood surfaces. Intarsia woodworking requires two different types of wood that contrast in color and grain. The wood can then get stained differently. Once the wood is cut, it will be sanded to create a mosaic-like design.
Techniques
It is easy to create stunning intarsia pieces if you use the correct techniques. A pattern can serve as a starting point for artistic creativity. With these ideas you can create stunning intarsia-wood art. Here are some techniques:
Select the project design. Keep extra copies of your template. Next, decide which species of wood to use. Different wood species have different characteristics. Each piece of wood will give your project an interesting depth and dimension. You can also glue additional layers of wood to add more pieces to your project. Finally, finish your project by cutting off any extra backing and leaving the fully finished intarsia piece.
Woods for your use
This new book will provide you with the tools and techniques needed to create stunning pieces of inlaid hardwood, regardless of whether you are a beginner. Kathy's progressive approach to teaching will allow you to learn everything, starting with the basics and ending up with the finer points of color breaks. Even if intarsia is something you have never done before, you will find yourself using this book to learn more about the fascinating craft.
First, make sure you choose woods with the same grain orientation and that complement each others. For example, a teddy requires 20 pieces of wood that are made from four types of wood with slightly different grains. A saw with a high speed blade is required. Once you have established the wood's color and orientation, it's time to start cutting and staining.
Colors
The colors of intarsia wood are as varied as the pieces themselves. While saps and heartwoods are either reddish brown or grey black, they are both white. Cherry, for example, is one of the woods that will darken over time. Cherry is a light-colored wood that begins life with a pale tone. It becomes medium-colored as it is exposed to sunlight. Cedar and other woods have different tones. This adds depth to your project.
Intarsia creates patterns by gluing together different pieces. It was first created in the Islamic region, but it is commonly associated with Italy today. To create a three-dimensional effect, woodworkers use a variety of wood shades with different thicknesses. Intarsia colors are commonly found on jewelry boxes and wooden chests.
It is a time-consuming process
Intarsia requires a variety of staining and wood types. Artists need to collect different types wood and stains to make beautiful intarsia patterns. Although plywood and Birch are the most popular types of wood, other types of wood are suitable. Artists have the freedom to choose which wood they like. Intarsia projects are often created by craftsmen who prefer Western Red Cedar.
Intarsia woodworking begins with the cutting and labeling of inlay pieces. Next, the artist glues the pieces together. After the glue has dried the woodworker will finish the piece with a double-bevel inlay. This tedious process takes skill and is truly a work-of-art.
FAQ
What material would you recommend to start learning woodworking?
You can start with softwoods like pine or poplar. When you feel confident with these two, move on towards hardwood.
How do you calculate woodworking prices?
It is crucial to keep project costs as low-cost as possible. Make sure you're getting the best prices on materials. It's also worth taking into account all the other factors that may affect the cost of your projects, such as time, skill level, and experience. If you want to get an idea of what you can expect to spend on different types of woodwork projects, check out our guide to the average price of common household DIY tasks.
How can I determine which tools are most suitable for me?
It is important to consider your needs and preferences when shopping for tools. Are you more comfortable with plastic or metal handles? What size screws or nails do you prefer? Would you rather use hand tools than power tools?
What are the basics of woodworking?
The best way to learn how furniture construction is to make your own bench. This project can be completed with whatever wood you have available at home. You don't need to know which type of wood you should use. Instead, get some pine boards at Lowes or Home Depot. After you've built your bench, you'll want to sand off all the rough edges and finish it with a stain or varnish.
Statistics
- If your lumber isn't as dry as you would like when you purchase it (over 22% in Glen Huey's opinion…probably over 10-15% in my opinion), then it's a good idea to let it acclimate to your workshop for a couple of weeks. (woodandshop.com)
- Most woodworkers agree that lumber moisture needs to be under 10% for building furniture. (woodandshop.com)
- The best-paid 10 percent make $76,000, while the lowest-paid 10 percent make $34,000. (zippia.com)
- Average lumber prices rose about 600 percent between April 2020 and May 2021. (familyhandyman.com)
External Links
How To
How to join wood without using nails
Woodworking is a favorite hobby. Woodworking is a relaxing hobby that allows you to use your hands to create useful things from wood. You might want to join two pieces from the same wood, but you don't need to use nails. This article will demonstrate how to do so to preserve the beauty of your woodwork.
Before you can join the wood pieces together, you need to remove any rough edges. You don't want any sharp corners to cause problems later. Once you have done that, you can begin gluing your boards together.
If you're working with hardwood, you should only apply glue to one side. If you are using softwoods such pine or cedar, glue should only be applied to one side. Press the boards down until the glue is fully incorporated. After applying the glue, let dry the boards before proceeding to the next stage.
After you have glued your boards, drill holes where you want to insert screws. You can choose the type of screw to determine the size of your holes. If you plan to use a 1/2 inch wood screw, drill a hole at least 3/4 inches in depth.
Once you have drilled the holes, the next step is to drive your screws through the joint into the board's backside. Be careful not to hit the front surface of the board, or else you'll ruin the finish. Don't drive the screws too far into the end. This will prevent splitting in the end grain of the wood.
Now that your project is finished, you'll want to protect it from the elements. To do this, you can seal the entire furniture piece or just cover the top. You'll want a product that lasts for many years. Some examples include oil-based varnishes, polyurethane, shellac, lacquer, etc.
You can find these products at most home improvement stores. Just make sure that you buy the right kind for the job. Keep in mind that certain finishes can be toxic and should not be used indoors. So, always wear protective gear when handling them.