
If you've ever wondered what to do to finish your doors and windows, this is the place for you. There are many steps involved with finishing trim. You'll learn how to apply trim correctly and what materials you should use. These steps will help you to apply your trim easily. These tips will help make this process easy. You'll be able to create a beautiful door or window, no matter if you're doing it yourself or hiring a professional.
Techniques
No matter whether you're a professional or just a DIYer, learning the correct techniques for trimming is crucial to a successful job. Several tips can help you complete your project without any trouble. The most important tip is to avoid common mistakes novices make when trimming. Here are some techniques to avoid. These can help you save time and avoid headaches.
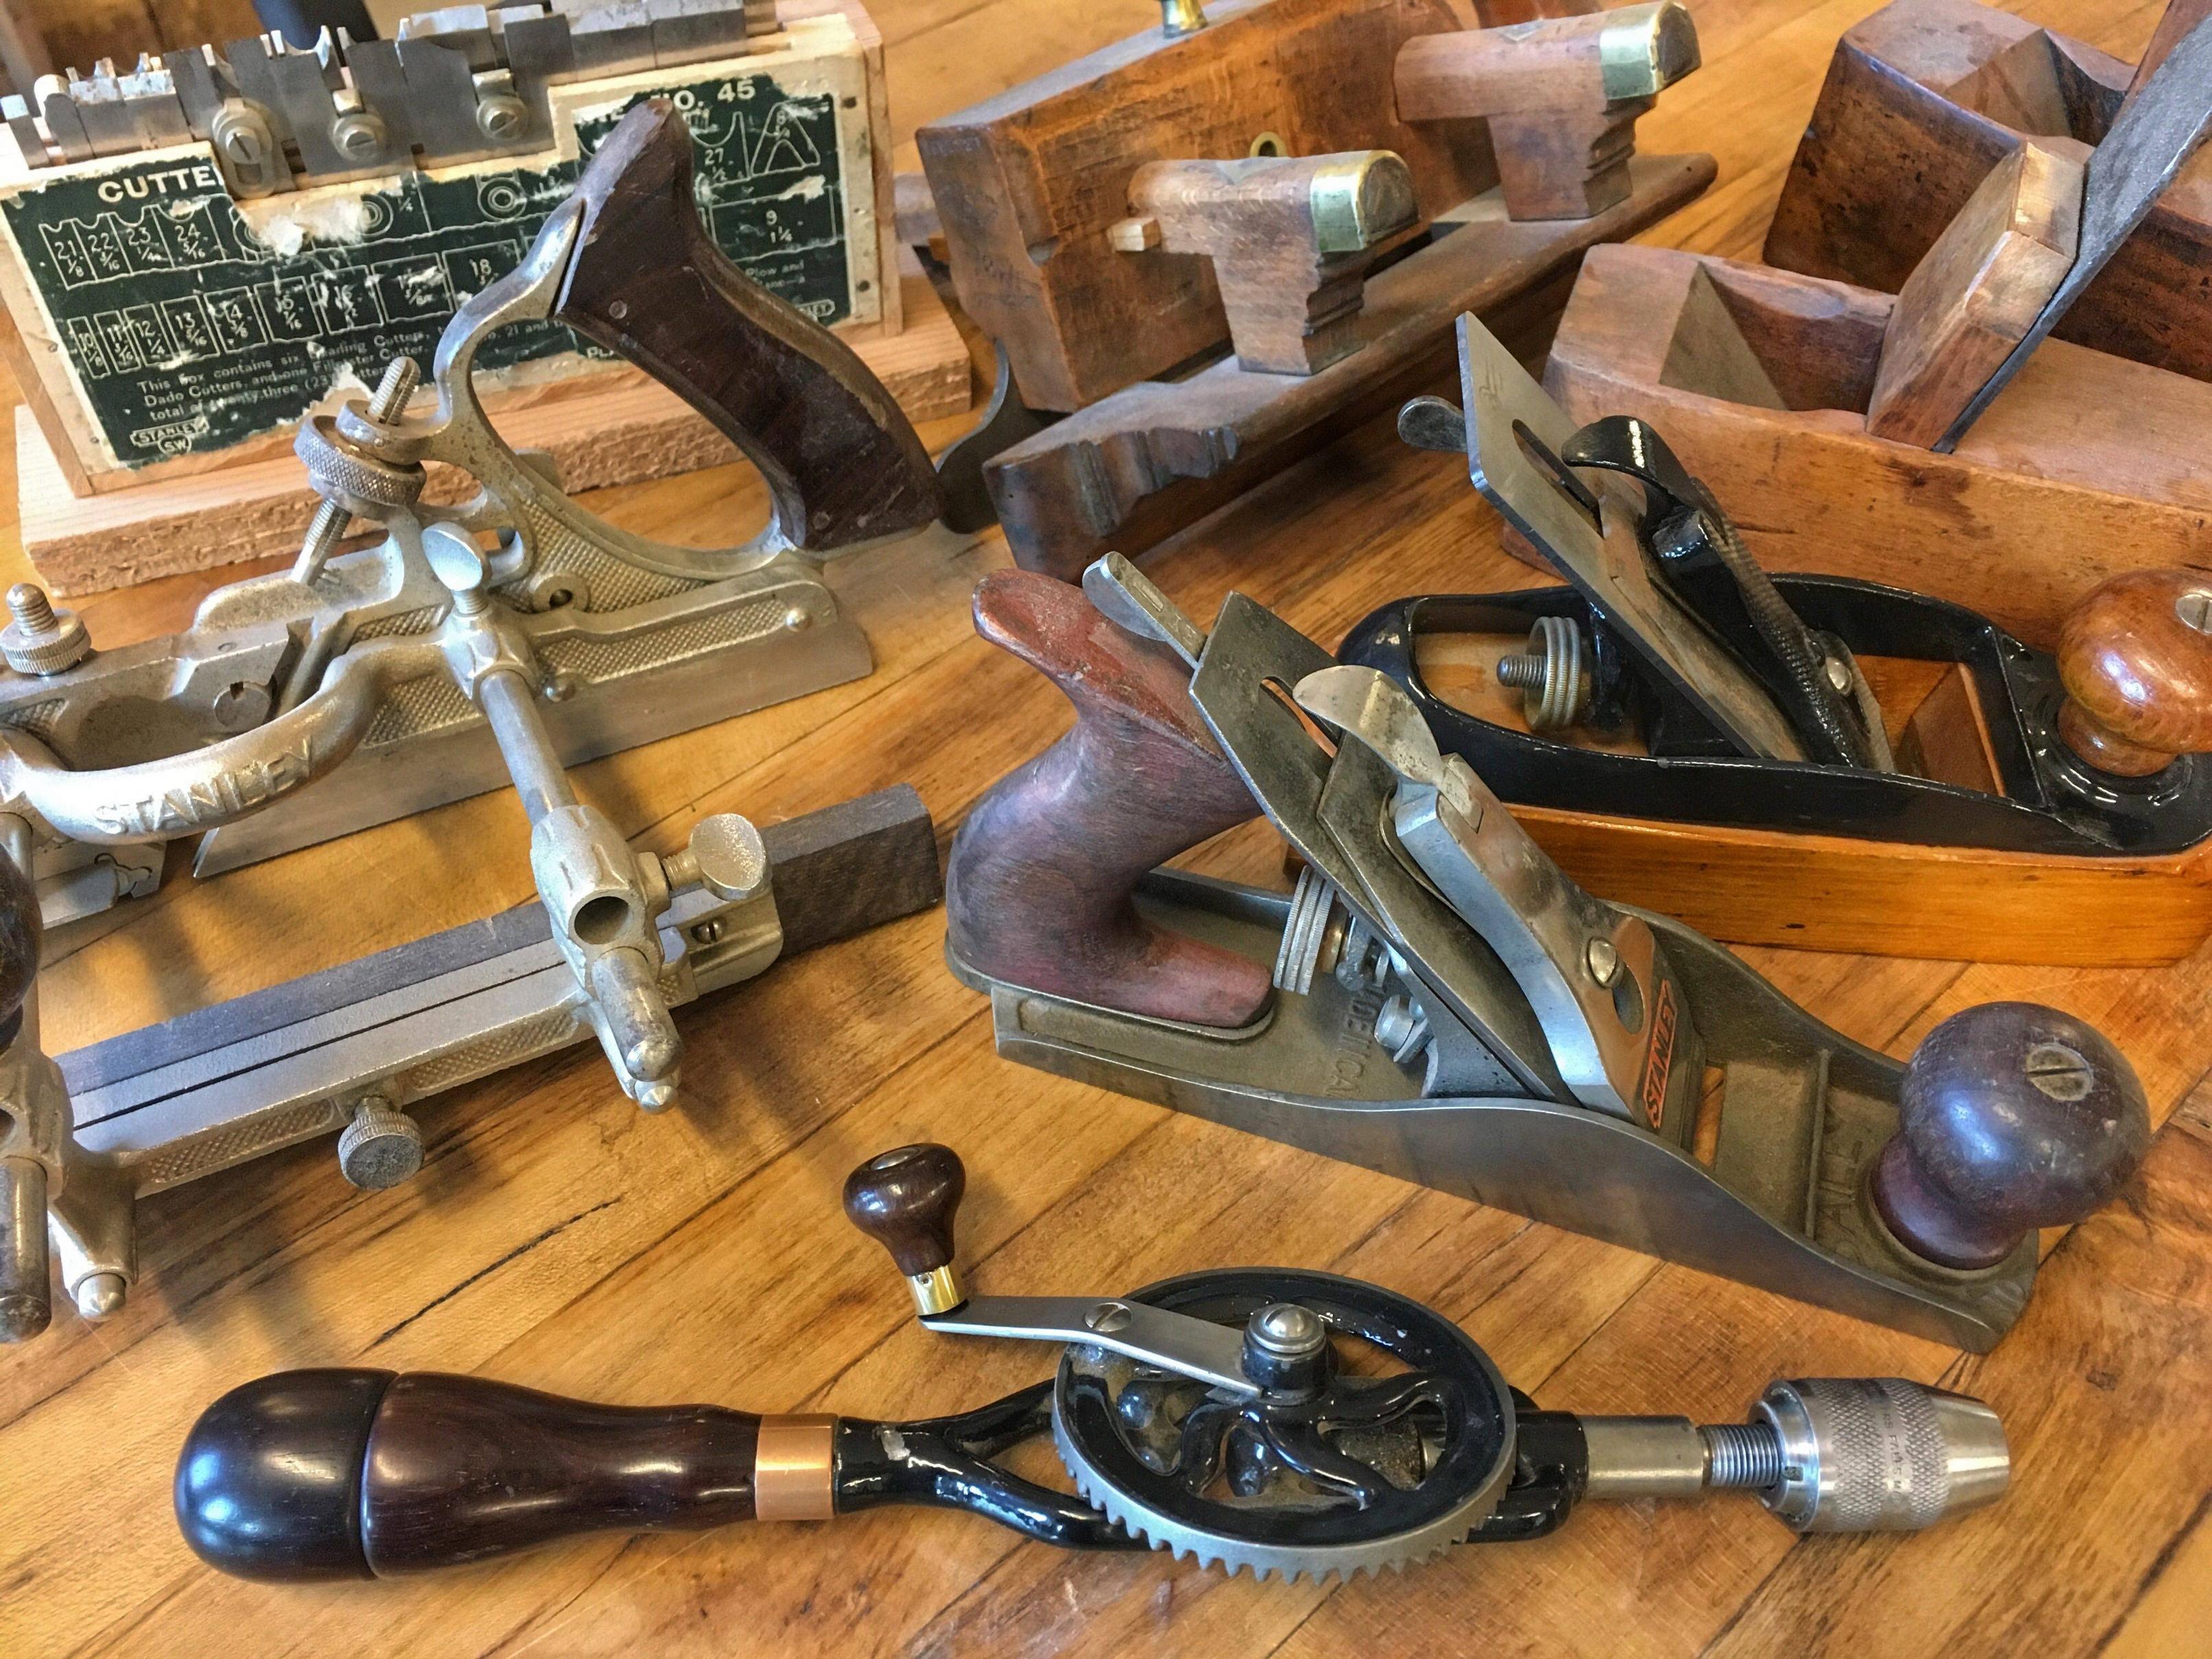
Tools
Sharp pencils are the best tool in any carpentry job. A good pencil can be worth its weight when trimming the ends. One third of an ind can make the difference between a good and perfect installation. Make sure to sharpen your pencil and make sure you have enough trim for your project. Here are 10 tools that you need to finish trim. These tools will make your job a lot easier. Remember, the more precise the pencil is, the easier the trim installation.
Materials
You can choose from a variety of materials to finish trim, including wood or synthetic materials. Some types can be made from plaster or other materials while others can be made out of plastic. Trim is often referred to as casing or molding. This article will cover the various types of trim and the correct techniques for installing them. Make sure the trim matches the decor in the room before you choose it. In some cases, it may be best to experiment with different materials to determine which will best suit your home's style and color.
Preparation
You need to be aware of several things when you are painting. The preparation of your project will not only affect its final outcome, but it can also impact the flow of the project. Make sure to gather all necessary supplies and place them in an easily accessible place. After collecting all the supplies, you should clean them thoroughly before beginning the process. These tips will help prepare trim properly. Once you have cleaned the trim, you can apply the final coat.

Selecting a finish
There are three basic paint finishes for wood trim: satin, semi-gloss, and high gloss. Each finish has a distinctive look. The color of the trim and overall design of your house will influence which paint finish you choose. These tips will help you choose the perfect paint finish for your house. Here are three options for wood trim paint finishes to make your decision easier. For a detailed comparison of each finish, read on.
FAQ
Where can I get free woodworking plans?
You don't need to purchase any books or magazines to find free woodworking plans. Just search Google. Just enter "free woodworking" into the search bar, and you'll see hundreds of websites where you can download free plans.
How do you know which tools are the best for you?
It is important to consider your needs and preferences when shopping for tools. Do you prefer metal handles or plastic? What size are you most comfortable using for screws and nails? Would you rather use hand tools than power tools?
Do I need to be a genius to succeed in woodworking?
No. Woodworking is not difficult. Anyone can learn how to use basic power tools and techniques to create beautiful works of art.
Where can I purchase woodworking supplies
There are many places where you will find everything that you need. For example, you could visit local hardware stores or look online at websites like Amazon.com.
You can also look for used furniture at flea markets or garage sales.
What's the time taken to finish a piece furniture?
It depends on the size and condition of the furniture. A smaller project like picture frames or boxes can be completed in a single day. Larger projects, like desks or dining tables require several days. It takes time to stain and seal the wood properly.
Statistics
- The best-paid 10 percent make $76,000, while the lowest-paid 10 percent make $34,000. (zippia.com)
- If your lumber isn't as dry as you would like when you purchase it (over 22% in Glen Huey's opinion…probably over 10-15% in my opinion), then it's a good idea to let it acclimate to your workshop for a couple of weeks. (woodandshop.com)
- Woodworkers on the lower end of that spectrum, the bottom 10% to be exact, make roughly $24,000 a year, while the top 10% makes $108,000. (zippia.com)
- Most woodworkers agree that lumber moisture needs to be under 10% for building furniture. (woodandshop.com)
External Links
How To
How to make wooden joints
This tutorial will show how to join 2 pieces of wood together. We will use the pocket hole joint, which is drilling holes in the wood to join them. This method is great if your wood's straight and smooth. You may want to consider other methods, such as dowel joining. These are the steps
-
Drill Pocket Hole Joints. Measure and mark the location where you would like to place the pocket hole joint. With a handheld drill machine or jig saw, drill 3/4-inch deep holes in the ends of each piece.
-
Sand Smooth. You can sand the edges of the wood to ensure that it doesn't split.
-
Glue together. Apply glue on both sides of the wooden plank. Let it sit for about 5 minutes before clamping the pieces together.
-
Clamp the Pieces Together. After the glue has dried properly, clamp the pieces together to make sure they are flush.
-
Trim Joinery. After the glue dries, trim any excess wood around your joint.
Allow enough space between pieces so you can turn them inside out.